
#
Angular setTimeout() example

This tutorial explains to you how you can use setTimeout functionality in angular 4. You will have a nice example as well.
For this example I have used the code generated at the article named Create a Child Component in Angular.
I have modified the following files:
app.component.html
<!--This is app.component.html file -->
<div style="text-align:center">
   <div class="myclass">

   </div>

  <app-child1></app-child1>

</div>
app.component.ts
/* This is app.component.ts file */

import { Component } from '@angular/core';

@Component({
  selector: 'app-root',
  templateUrl: './app.component.html',
  styleUrls: ['./app.component.css']
})
export class AppComponent {

  message: string = 'Enjoy setTimeout !';

}
app.component.css
/* This is app.component.css file */

.myclass {
    background-color: rgb(52, 144, 224);
}
child1.component.ts
/* This is child1.component.ts file */

import { Component, OnInit } from '@angular/core';

@Component({
  selector: 'app-child1',
  templateUrl: './child1.component.html',
  styleUrls: ['./child1.component.css']
})
export class Child1Component implements OnInit {

  constructor() { }

  ngOnInit() {
    console.log("HELLO before functionNr1");
    this.functionNr1();
    console.log("HELLO after functionNr1");
  }


  functionNr1() {

    console.log("Hello from functionNr1 before setTimeout in code");
    setTimeout (() => {
         console.log("Hello from setTimeout");
      }, 1000);

    console.log("Hello from functionNr1 after setTimeout in code");

  }
}
child1.component.html
<!--This is child1.component.html file -->
<div>
child1 works!
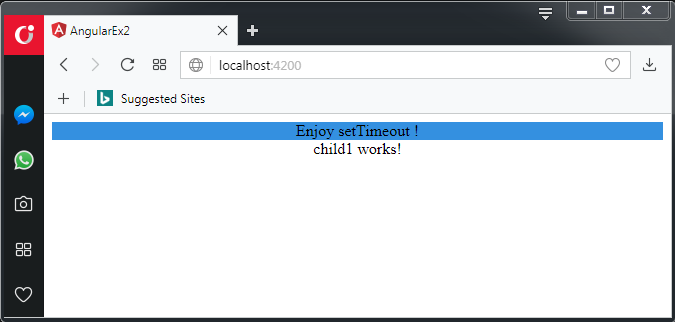
</div>When you run the application, you will see:
But the more important thing, you will see in the console:
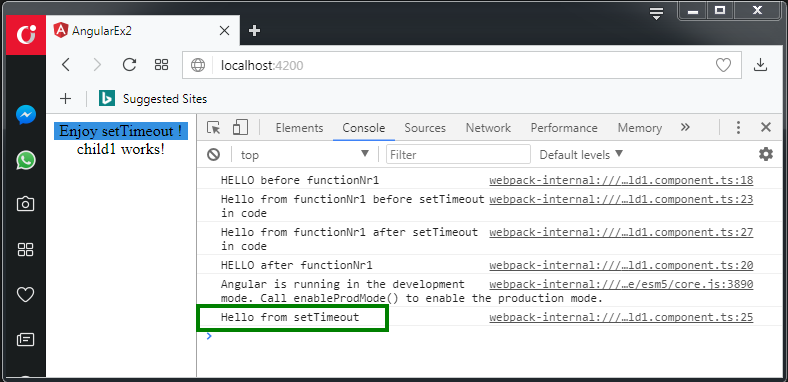
Info
You can see that "Hello from setTimeout" message is logged later ! This is the purpose of setTimeout() functionality.